How to log in & ship with us?
Login to Account
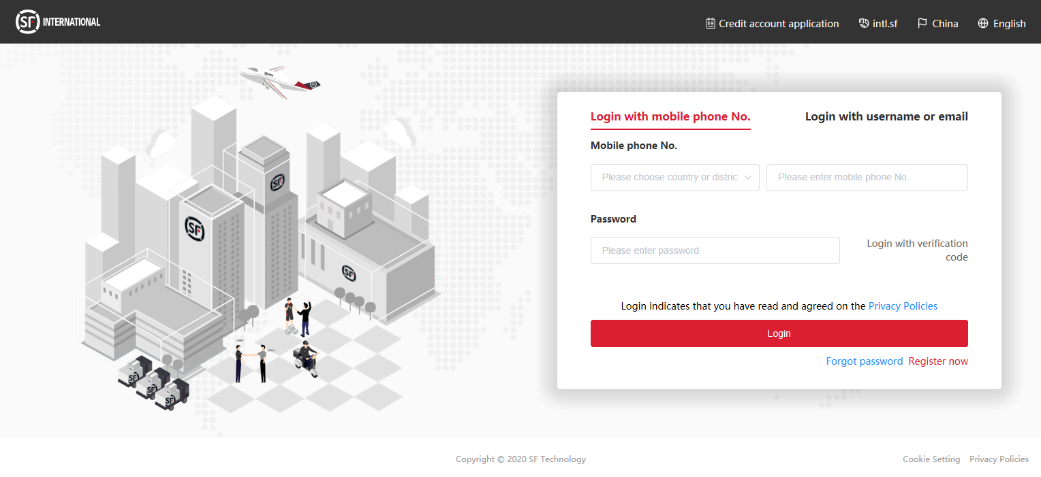
Visit IUOP system access URL. Enter the registration/login page. Select the Login with mobile phone No. or Login with username or email page. Enter the corresponding mobile number or username/email address and password. Click Login.
Shipping Order Placement
1. Place order for a single shipment
On the left navigation tree, choose Shipping > Single shipment order. The single shipment order information page is displayed. The shipping information needs to be input in three steps. After filling in the mandatory information (with a "*" mark) in each step, you can go to the next step or go to the previous step for revision.
1.1 Pay attention to the followings when filling in the shipper and receiver information:
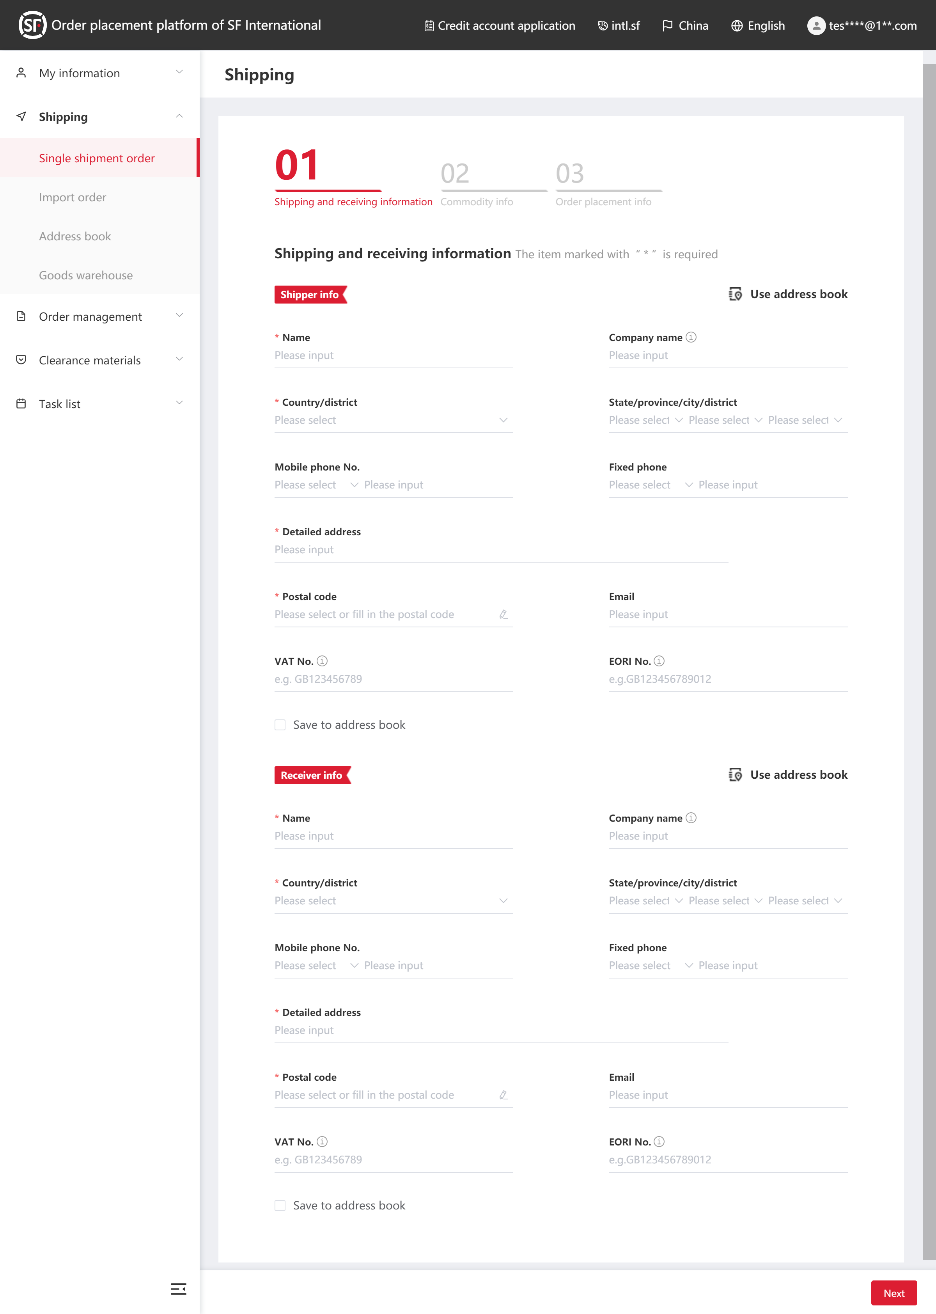
- The information about the shipper and receiver must be true and valid. If the receiver/shipper's information is incomplete or incorrect, it may cause unsuccessful pickup or delivery and customs clearance delay. In such a case, the customer shall bear the related expenses.
- After entering the shipper/receiver information, you can select Save to address book to save the information for easy use.
- To clear the entered content, move the cursor to the drop-down arrow on the right side of the control and click the round clear icon, as shown in the following picture.

1.2 Pay attention to the following to fill in the commodity information:
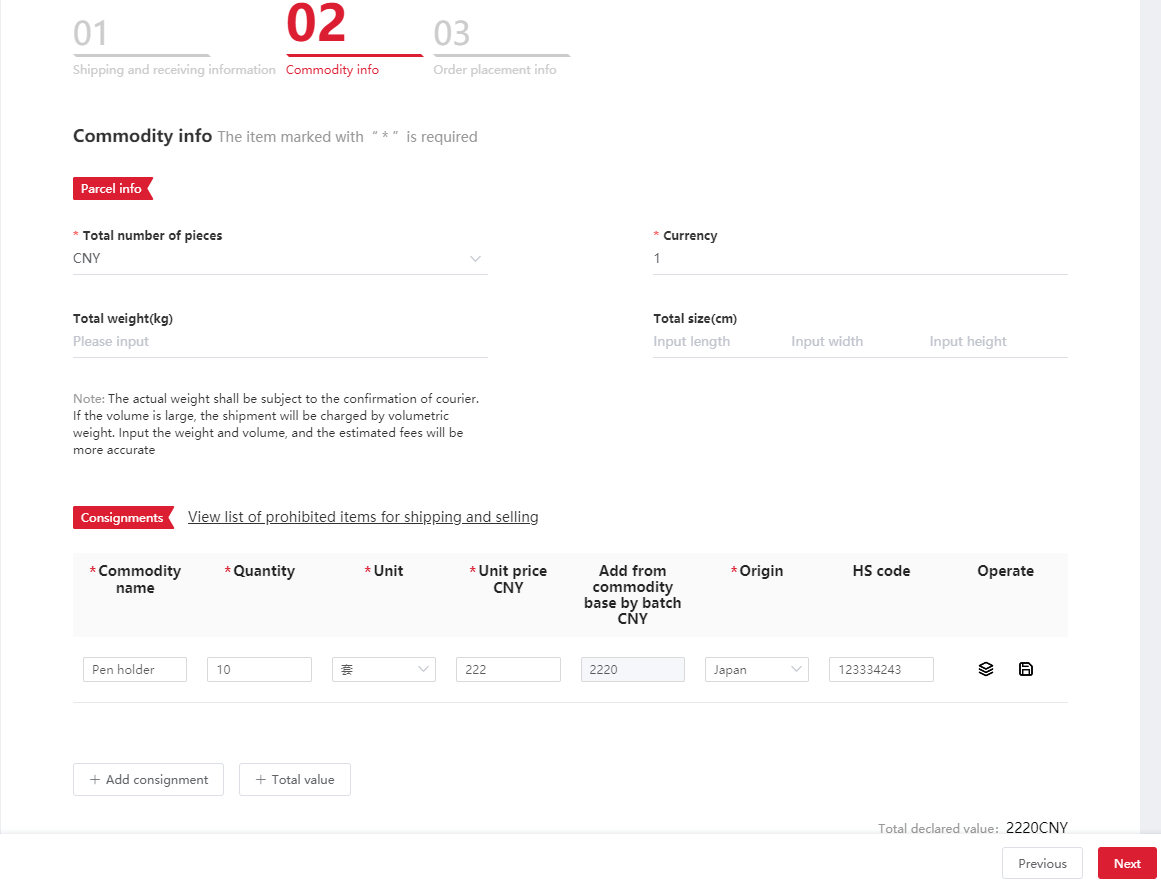
- At least one row of the commodity should be filled in. You can click Add consignment to add a row. The commodity must not be included in the prohibited item list. For details about the prohibited item list, click View list of prohibited items for shipping and selling on the page or consult SF Customer Service Representative by calling SF service hotline (95338).
- You can select to add the consignment to the Goods Warehouse to facilitate future adding in batches.
1.3 Pay attention to the following to fill in other order information:
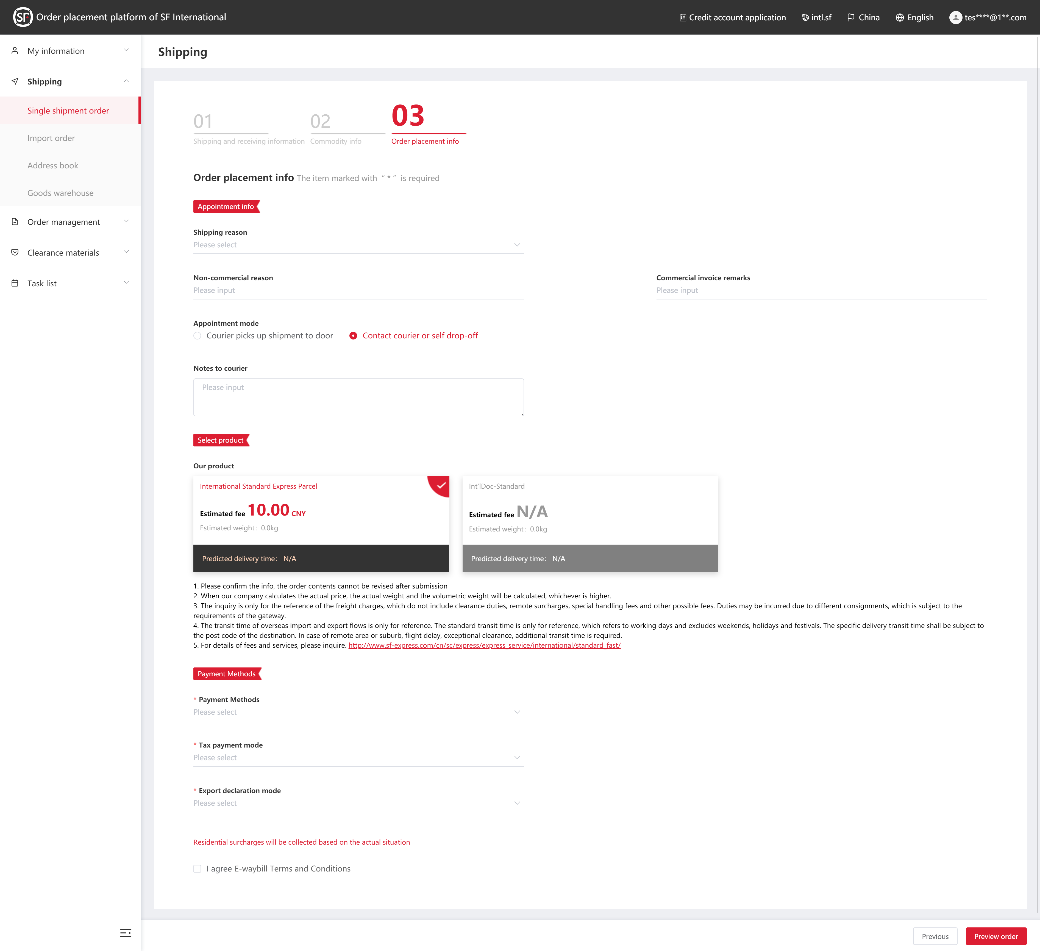
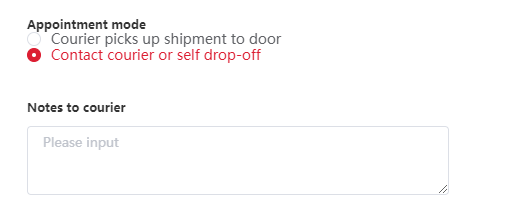
- You can specify the appointment time and write the notes to couriers.
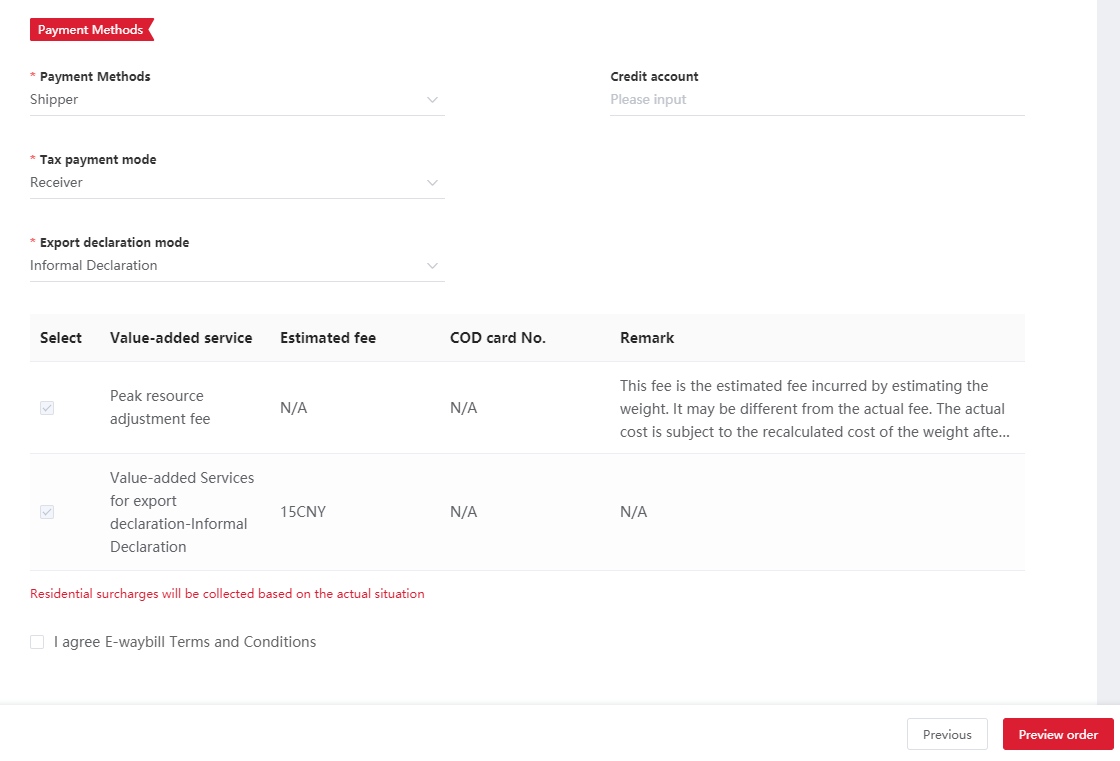
- The estimated fee displayed after the product is selected is for reference only, and the actual price is subject to the fee calculated after the pickup.
- Residential surcharges are collected according to the actual situations.
- You must select I agree E-waybill Terms and Conditions.
- The value-added services are displayed after you select the payment mode.
- After filling in all the information, you can click Preview order to preview the complete order information.
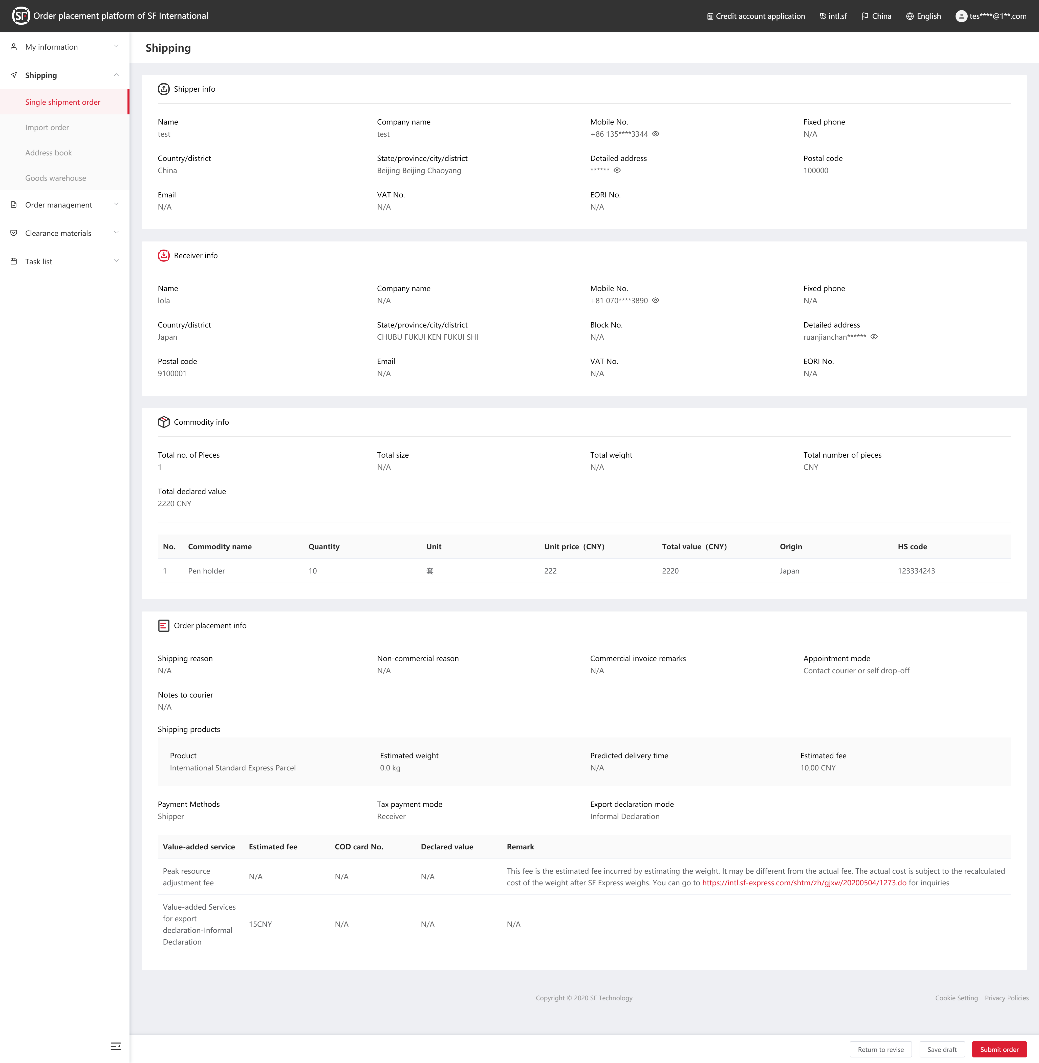
1.4 Preview and submit the order.
- The value-added services are displayed after you select the payment mode.
- If you need to modify the order information, click Return to revise and revise the information on the order placement page. You can also click Save draft to save the information as a draft temporarily.
2. Batch order placement
The system supports two import modes to place orders in batches, namely, standard template and customized template. A customized template is prepared by mapping fields with IUOP system based on common order template in accordance with the IUOP system requirements, without changing the own template. Before preparing the customized template, map the fields with the IUOP system in Shipping > Customized template.
2.1 Prepare the customized template.
2.1.1 Choose Shipping > Customized template. The customized template page is displayed.
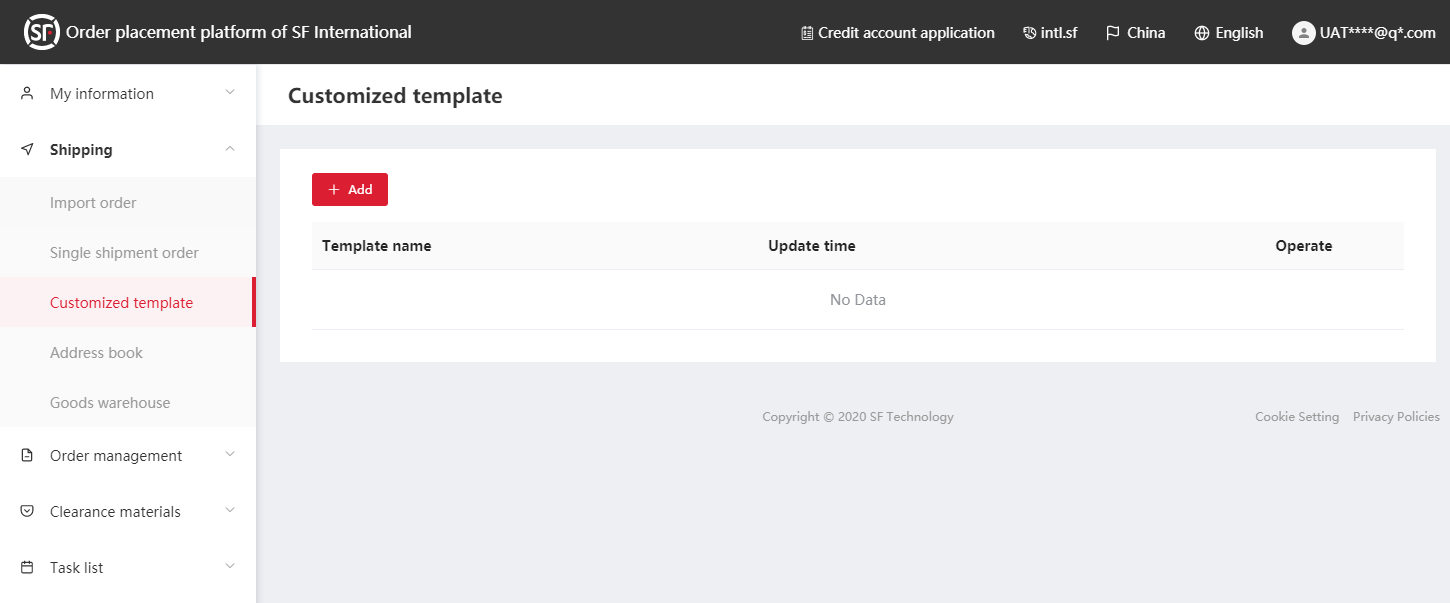
2.1.2 Click Add. The template edit page is displayed.
2.1.3 Specify the title field and data rows in your own template and upload the customized template.
- The template supports only horizontal expansion instead of vertical expansion, as shown in the following:

- The template file must be in XLS or XLSX format, and the file size is up to 8 MB.
- The file name cannot contain special characters. Otherwise, it cannot be uploaded.

2.1.4 The template edit page maps the fields in the customized template with the fields in the system and submits the file. You can directly use this template to upload data next time.
- If field names in the template file are changed, including the name and location, you need to prepare and upload the new template.
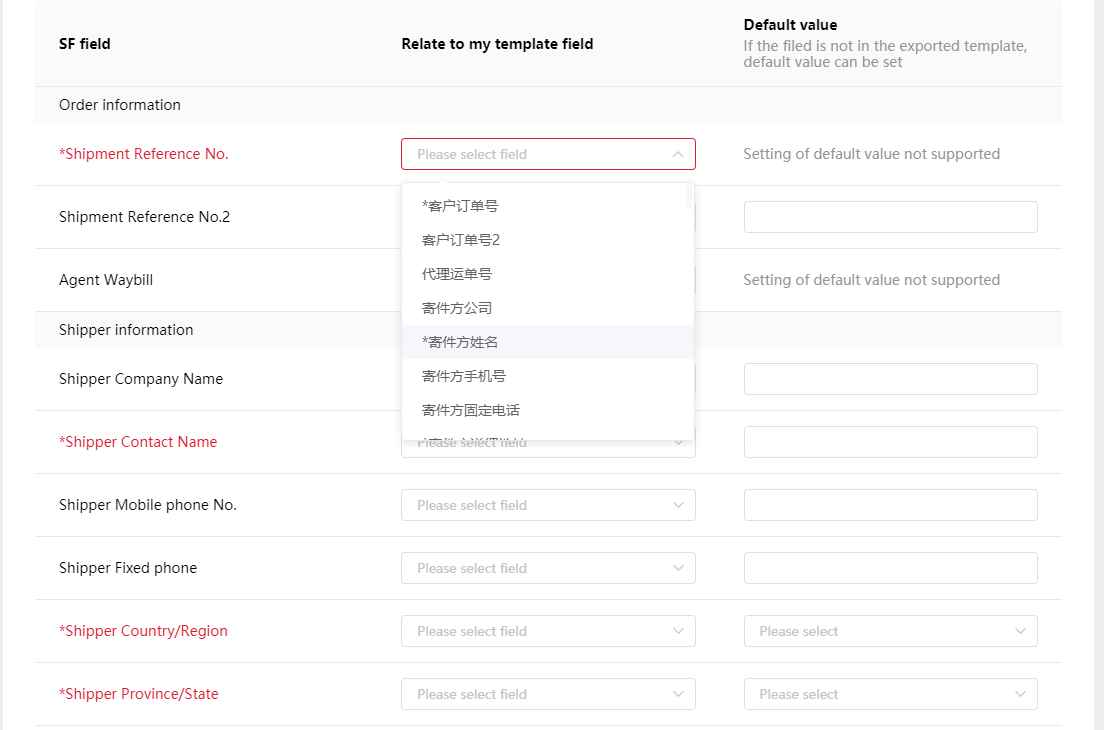
2.2 Import order:
2.2.1 Choose Shipping > Import order. The Import order page is displayed.
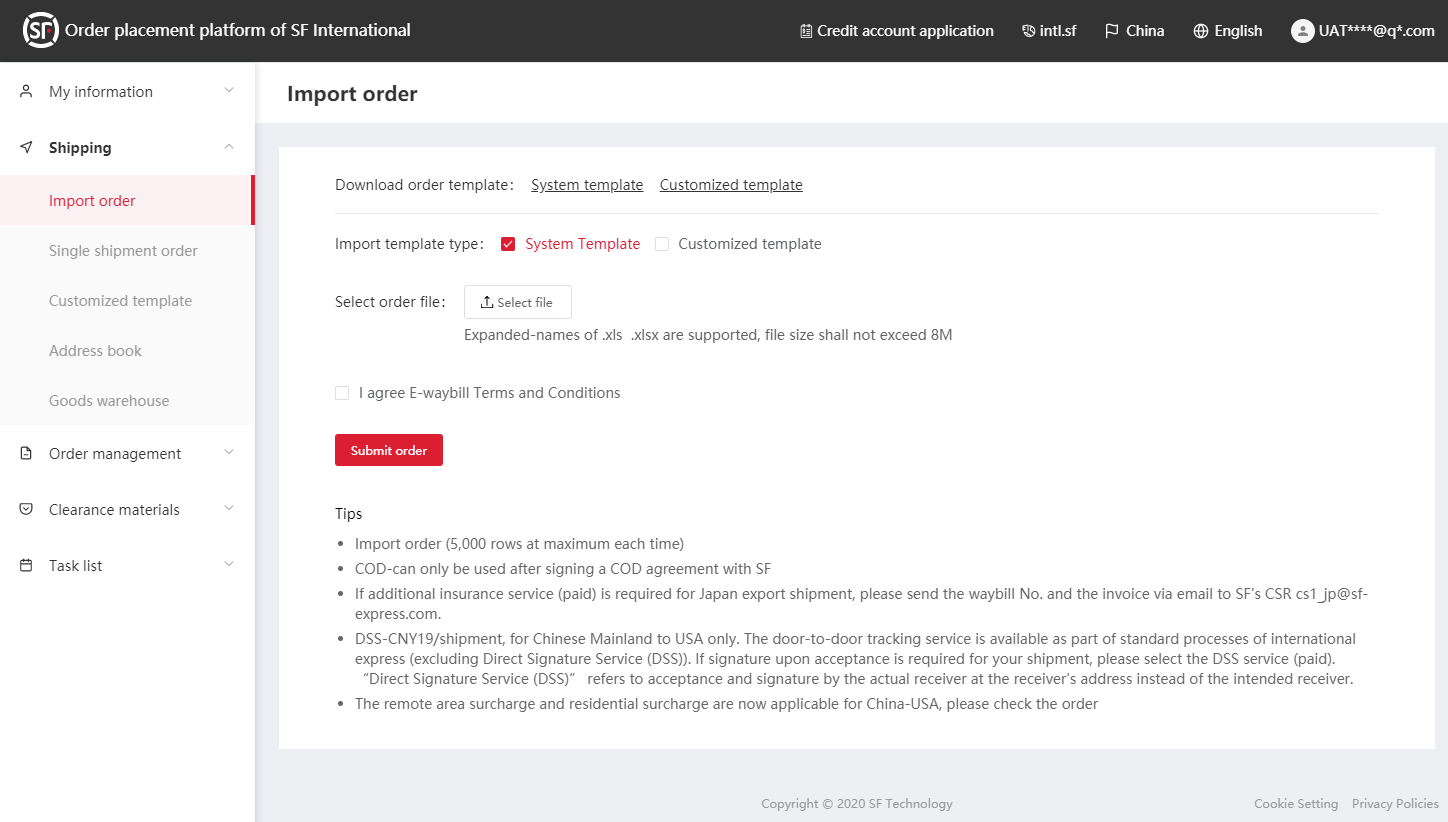
2.2.2 Select System Template or Customized Template. Select the order file to upload. Select I agree E-waybill Terms and Conditions. Click Submit order.
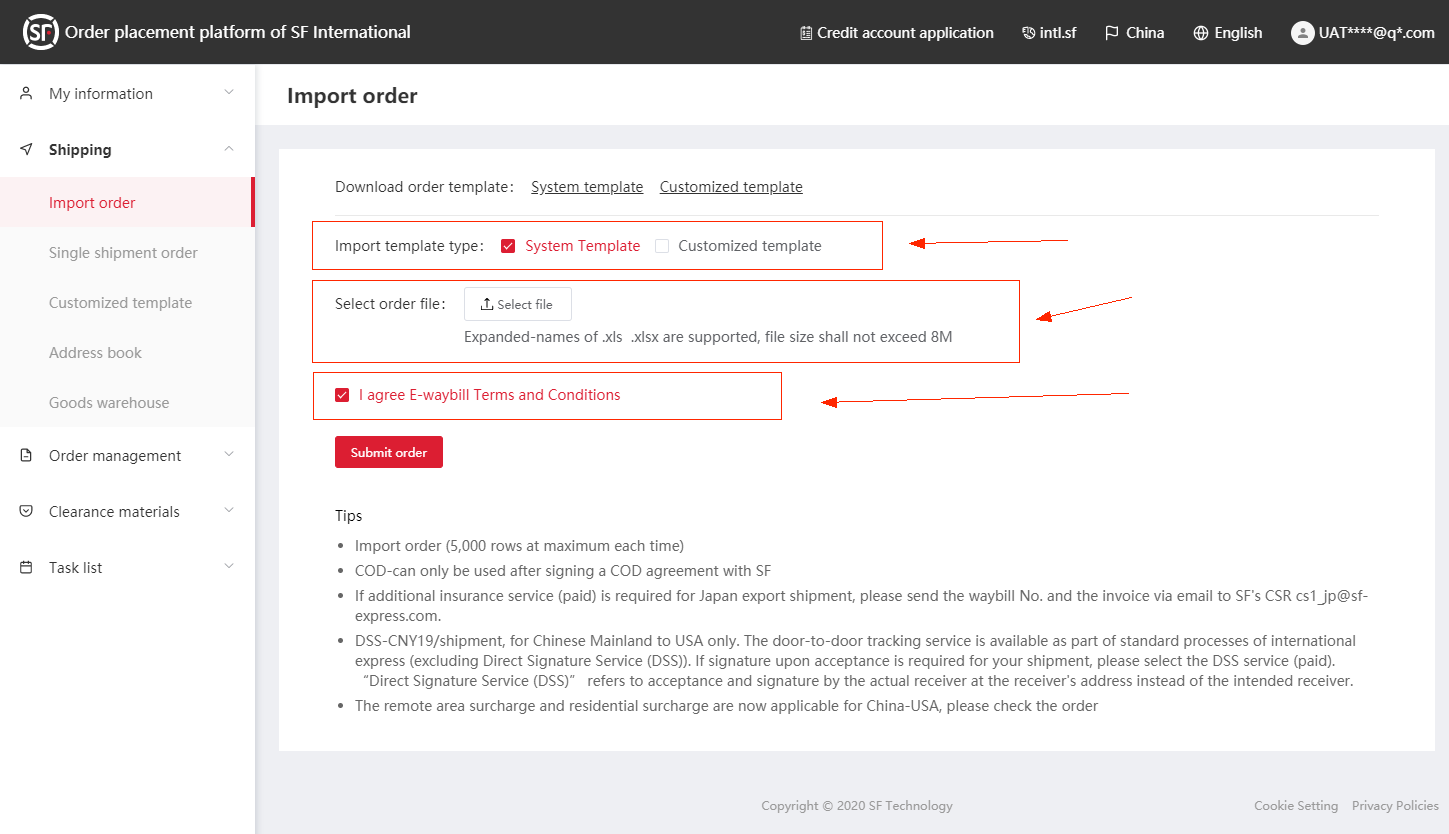
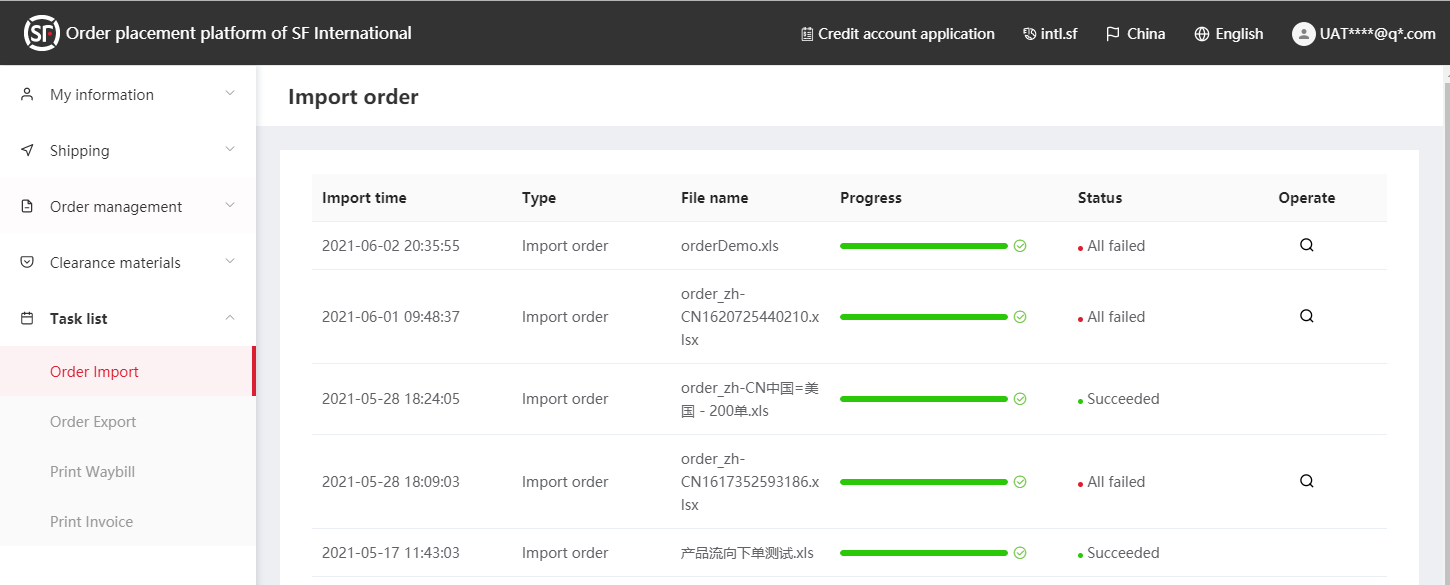
2.2.3 After the file is uploaded, you can view the upload result in Task list > Order Import.
